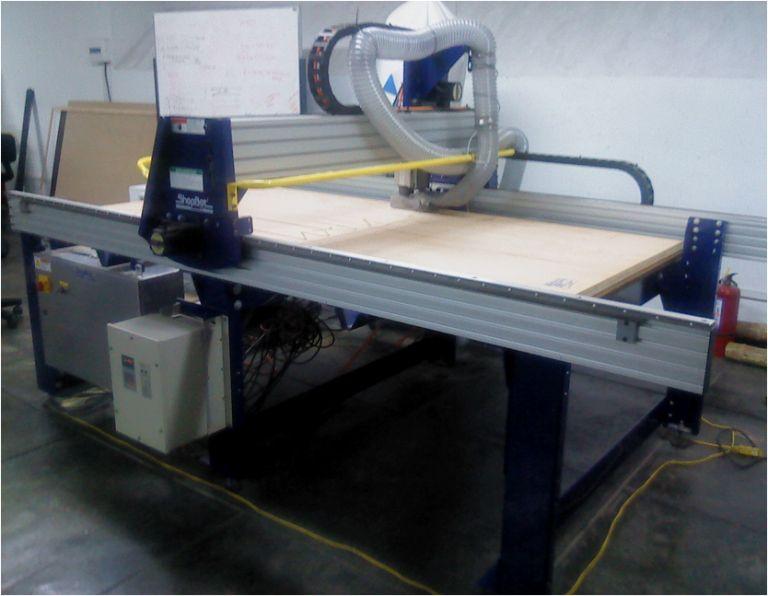
The assignment for this week is to use the Shopbot machine. In this case we are going to do something big. The machine is a product finder the most interesting and challenging machine learning in the Fab Lab usually generates a fear of using it. However, if you work following the necessary safety measures, you can get excellent results.

Knowing ... hot to use this machine?
Before working with the Shopbot machine, check if the working area is clean. Then use the elements safety requirements (glasses, ear muffs, rubber shoes).
- After drilling the holes in the machine, proceed to place and tighten the screws that will allow the parts are fixed to the work area.
- It is recommended that each piece count at least two holes, otherwise it could be damaged when removed from the machine while it is machined
- After the machining, remove the cut pieces and proceed to clean the dust from the work area

1. MACHINING
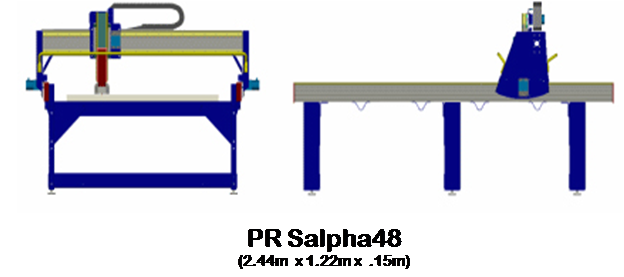
1.Open a new file in PartWorks 2d, adjust working (2440x1220 mm) and import dxf file
2.Place elements (0,0).
3.Mark with different colors or layers pieces for cut or engraving.4.Suggestion: Fix the perforations of each piece to avoid moving during machining. Define the kind of bit and depth in toolpath.
5.Save the instruction in the low console.6.Open the Shopbot console, calibrate the tool (red and yellow display). Check “Cuts” (axis Z Z0)
7.Open the file (the path can be seen)
8.Push start
9.Press green button.
10.Finally accept and the machining is going.

2. ASSEMBLY PROCESS

Final comments: For this assignment we had to understand the flexibility and elasticity of the material that we used. Therefore, we chose to try other forms of processing of materials that we have in the Fab Lab, such as MDF, cardboard and others ...
Acknowledgments : Morflex Studio, Raquel Velarde and Jaime Simon